Drawing realistic pencil portraits: tools and tips
Want to make your pencil portraits look more realistic? Here are 5 tips to get you started.
For many artists, mastering the realistic pencil portrait is a common goal.
With the right tools and tricks, there are ways to master pencil portraits without whipping out the tracing paper.
Don’t know where to start? Here’s five tools and tricks to get the ball rolling.
1. Blending stumps
Creating realistic textures is one of the biggest challenges in pencil portraiture. A tool you might wish you knew about earlier – blending stumps!
These cheap and cheerful tools will majorly up your game when it comes to creating realistic skin and hair textures. You can buy some of these for less than a pound on Amazon. Sometimes there’s a limit to how blended we can make our marks look by simply utilising our standard pencils.
These texture tools will allow you to blend darker tones into lighter ones seamlessly using small motions. Make sure to practise with these before you get started. Get used to the pressure you’ll need blend with these pencil smudging tools. Always start with lighter pencil marks then you think you’ll need before adding darker tones - it’s always easy to add but never easy to remove.
2. Grids
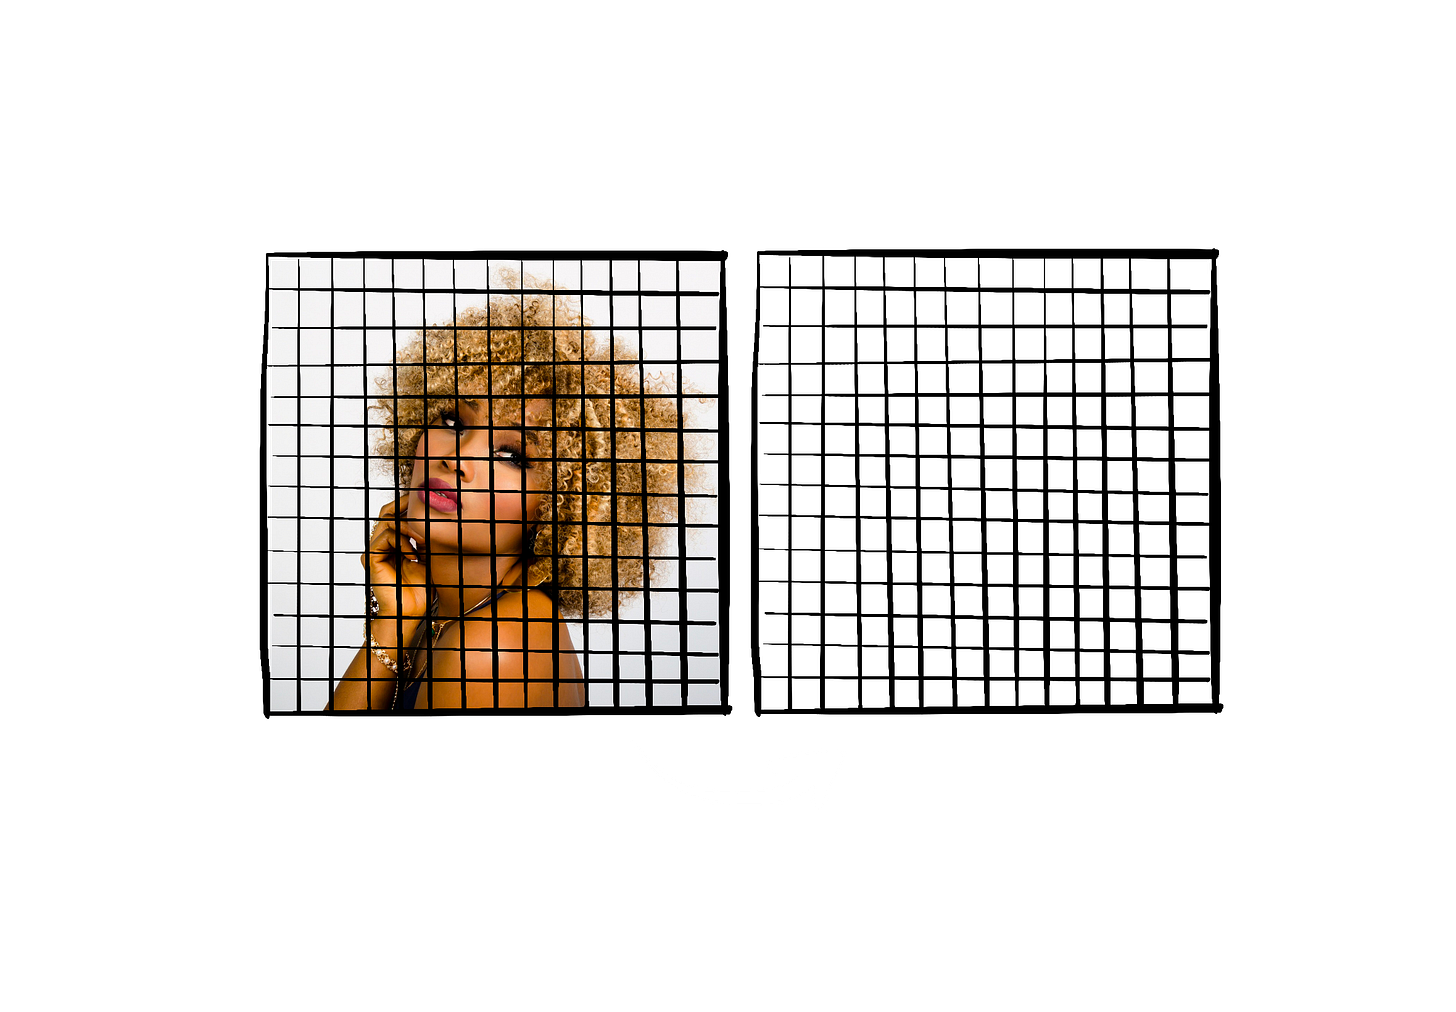
Time to get out your ruler! This is for those who can’t help but whip out the tracing paper in their pencil portraits.
This is a trick that takes time to implement but is by far one of the best for those who struggle with getting proportions right.
For this trick:
Print out a black and white version of your reference photo to the size of your blank drawing paper.
Use your ruler to draw a neat, square grid over your reference photo.
Duplicate the same grid (measured correctly) using a pencil lightly on your blank drawing paper.
Use the gridded reference photo to draw the outlines of your portrait square by square on your drawing paper.
Once the portrait is completed, erase any visible lines left behind on your drawing paper.
3. Eraser
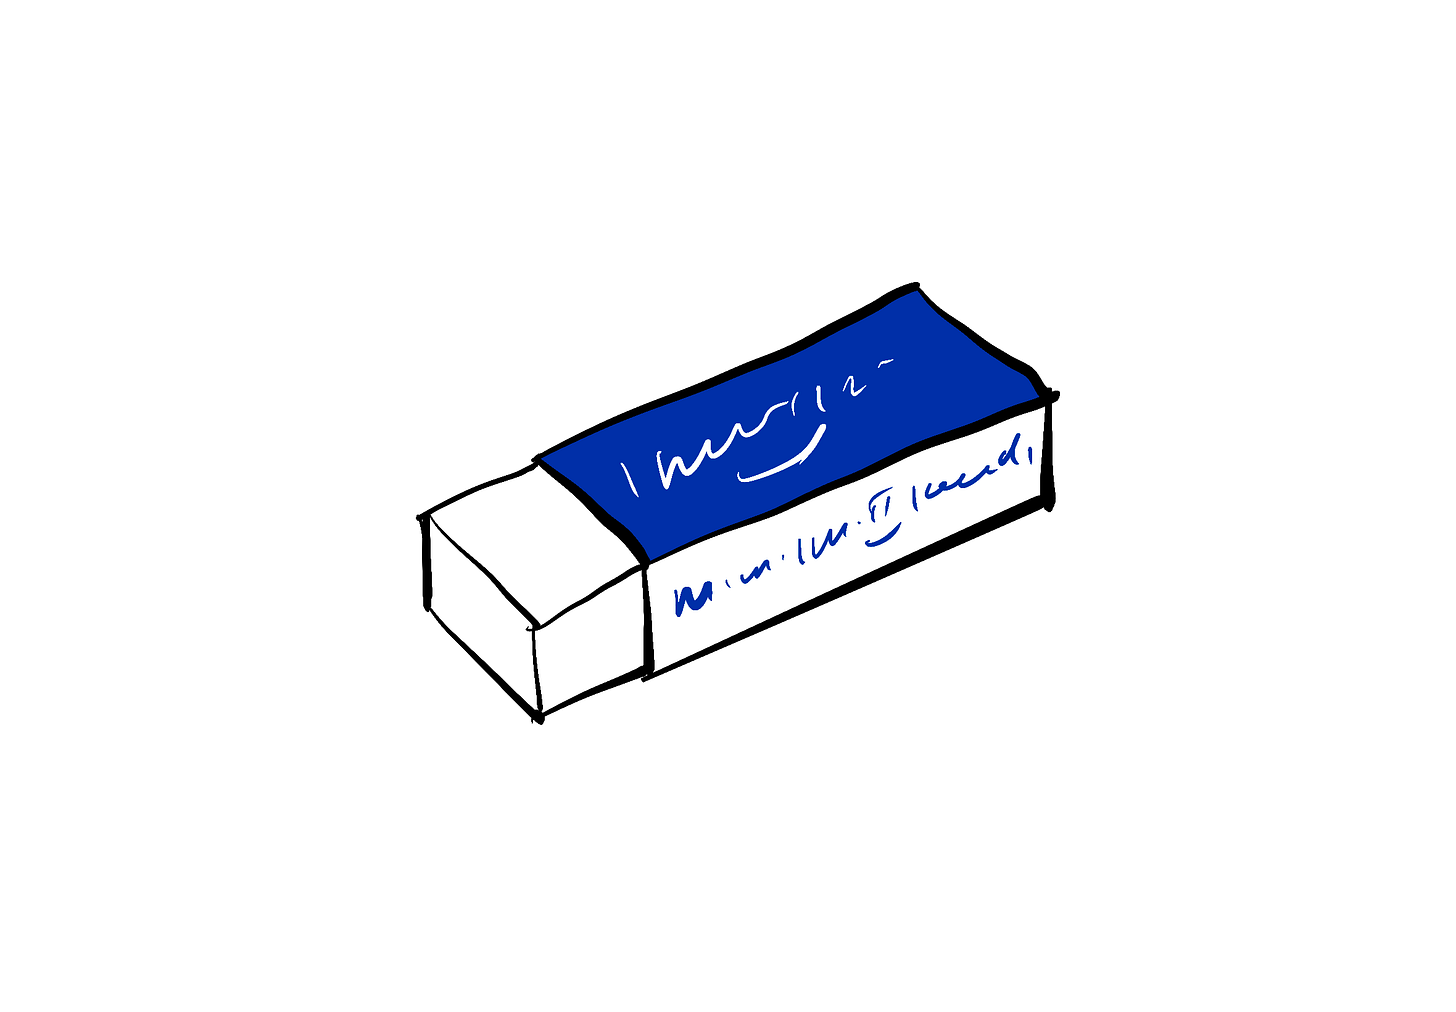
Never underestimate the power of using an eraser in your next pencil portrait.
As much as drawing darker tones is important in depicting realistic shadows, highlights on the face are equally as important.
In textures like skin, eyes and hair, using an eraser to create stark contrast against your dark tones will help your portrait look much more realistic.
However, if there are highlights in your reference photo which are obviously bright (for example, shine in the eyes) it is always better to leave paper blank where you anticipate highlights to sit rather than going in with an eraser later.
4. Use a range of good pencils
There is always a limit to how dark and light your HB pencil will actually let you go.
Though it’s not impossible to achieve a realistic range of tones with your standard pencil, it is great to invest some money into a range of pencils that will help make your shadows and highlights pop.
For your darker shadows, aim to use your B pencils. With each increase in number, the pencil you get will produce darker tones.
For your lighter highlights, aim to use your H pencils. With each increase in number, the pencil you get will produce lighter tones.
Creating tonal range in your portrait will always help you make it look realistic.
5. Take your time
If you don’t feel confident using a tool or getting your proportions right, take the time to test these tips on smaller projects.
Ultimately, the more you practise, the more realistic your portraits will be.
If your portrait is not looking realistic now, don’t lose heart. Behind many realistic pencil portraits are hours of work and many pages of failed attempts.
Good luck!


